
The Artist
Véronique Baur
My name is Véronique Baur. I paint nature illustrations in watercolour which I publish as Veer Illustratie as cards or wall prints. I also work on commissions, ranging from packaging to birth announcements. Veer is my name, but also a reference to the nature I love so much.

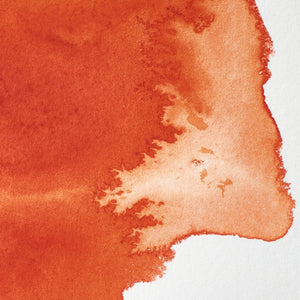
Step 1
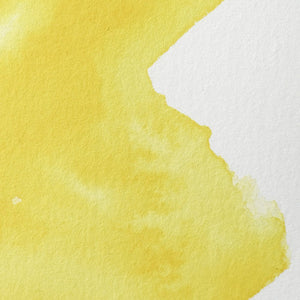
By loading my brush with Transparent Orange and quite a lot of water, I create a smooth wash of orange fading into yellow in the forewings of the butterfly. By adding Cadmium-Free Lemon, the colours blend nicely into each other. I fill the rest of the wings with colour by continuing to add water to the colour.

Step 2
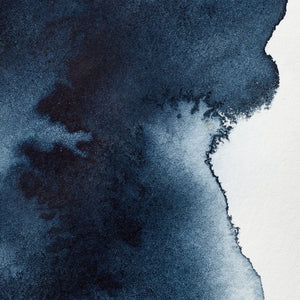
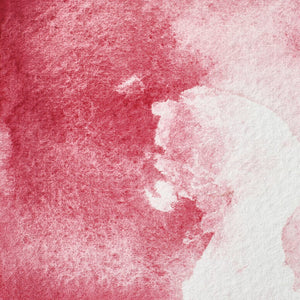
In the wet orange area, I dot some Rose Madder Genuine at the top. The orange paint is slowly drying but still wet. This means the colour can run into it. Use a paper towel to ensure that the orange doesn’t run outside the line of the wing. Once the forewings are dry, I use the warm blue Smalt for the hindwings.
Step 3
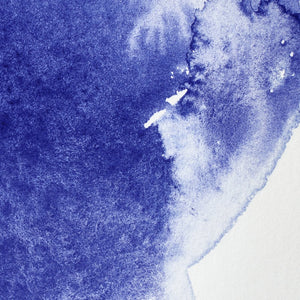
I paint this blue in the same free and light way as the orange in the forewing. While it’s still wet, I dot more Smalt and some Payne’s Grey where the wing joins the body, creating a nice gradation from dark to light. At the bottom of the wing, I use more Transparent Orange and Cadmium-Free Lemon. Try to avoid the colours running into the blue area too much. While the hindwing is drying, I paint the body in a watery blue.

Step 4
It doesn’t matter if the wing colours run into the body slightly – you can paint over that later and it’s nice if there’s no separation between body and wing. I use paper towel again to remove excess paint. I also dot some extra Smalt and Payne’s Grey in the wet area. Don’t forget the antenna, which consist of dots. Once they are dry, I add more details.

Step 5
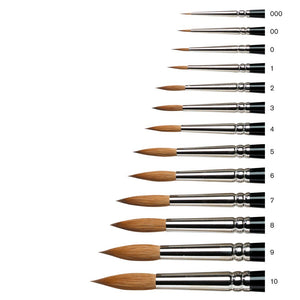
I add a second and third layer to the wing. I darken the colour with more Rose Madder Genuine and even a transparent layer of blue on the forewing. I paint the lines wet on dry with a little water and a thin point; the brush only touches the paper very lightly!

Step 6
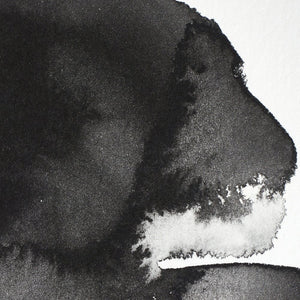
Finally, I paint the black areas and the ends of the wings. I like to paint the edge first with blue and then add Payne’s Grey or Lamp Black while it’s still wet. Because the edge isn’t completely black; with the reflection of the light, it actually has a blue tinge.
![WN PWC KAREN KLUGLEIN BOTANICAL SET [OPEN 3]](http://www.winsornewton.com/cdn/shop/files/136448.jpg?crop=center&v=1761625362&width=20)
![WN PWC KAREN KLUGLEIN BOTANICAL SET [FRONT]](http://www.winsornewton.com/cdn/shop/files/136444.jpg?crop=center&v=1761625362&width=20)
![WN PWC ESSENTIAL SET [CONTENTS 2]](http://www.winsornewton.com/cdn/shop/files/137579.jpg?crop=center&v=1761625558&width=20)
![WN PWC ESSENTIAL SET [FRONT]](http://www.winsornewton.com/cdn/shop/files/137583.jpg?crop=center&v=1761625558&width=20)
![W&N GALERIA CARDBOARD SET 10X12ML 884955097809 [OPEN]](http://www.winsornewton.com/cdn/shop/files/138856.jpg?crop=center&v=1761626083&width=20)
![W&N GALERIA CARDBOARD SET 10X12ML [B014096] 884955097809 [FOP]](http://www.winsornewton.com/cdn/shop/files/138855.jpg?crop=center&v=1761626083&width=20)
![W&N PROMARKER 24PC STUDENT DESIGNER 884955043295 [OPEN]](http://www.winsornewton.com/cdn/shop/files/78675_d6356b09-bd48-4280-8df1-eefc85a4de3b.jpg?crop=center&v=1761841229&width=20)
![W&N PROMARKER 24PC STUDENT DESIGNER 884955043295 [FRONT]](http://www.winsornewton.com/cdn/shop/files/78674_d4d78a69-7150-4bf4-a504-3cb5304b0f80.jpg?crop=center&v=1721326116&width=20)

![W&N PROFESSIONAL WATER COLOUR TYRIAN PURPLE [SWATCH]](http://www.winsornewton.com/cdn/shop/files/136113.jpg?crop=center&v=1724423390&width=20)
![W&N WINTON OIL COLOUR [COMPOSITE] 37ML TITANIUM WHITE 094376711653](http://www.winsornewton.com/cdn/shop/files/9238_5073745e-fcfe-4fad-aab4-d631b84e4491.jpg?crop=center&v=1721326117&width=20)
![W&N WINTON OIL COLOUR [SPLODGE] TITANIUM WHITE](http://www.winsornewton.com/cdn/shop/files/131754_19b392ee-9bf6-4caf-a2eb-0356ec1c660a.jpg?crop=center&v=1721326118&width=20)